It Cosmetics End caps
Overview
Preferred Display Inc. (PDI) is an acrylic and display manufacturer specializing in retail point-of-purchase displays for makeup, skincare, and fragrance. PDI was also the exclusive vendor for a national department store chain, and was tasked with the creation of a six-bay display with two end caps for the 500-store launch of It Cosmetics.
Our team of design engineers designed and sourced the entire display in less than six months to be assembled and in stores for the holiday season.
Given my past experience with complex surface modeling, I focused on the end caps and their more complex factices (a term referring to a mock version of a product made specifically for display).
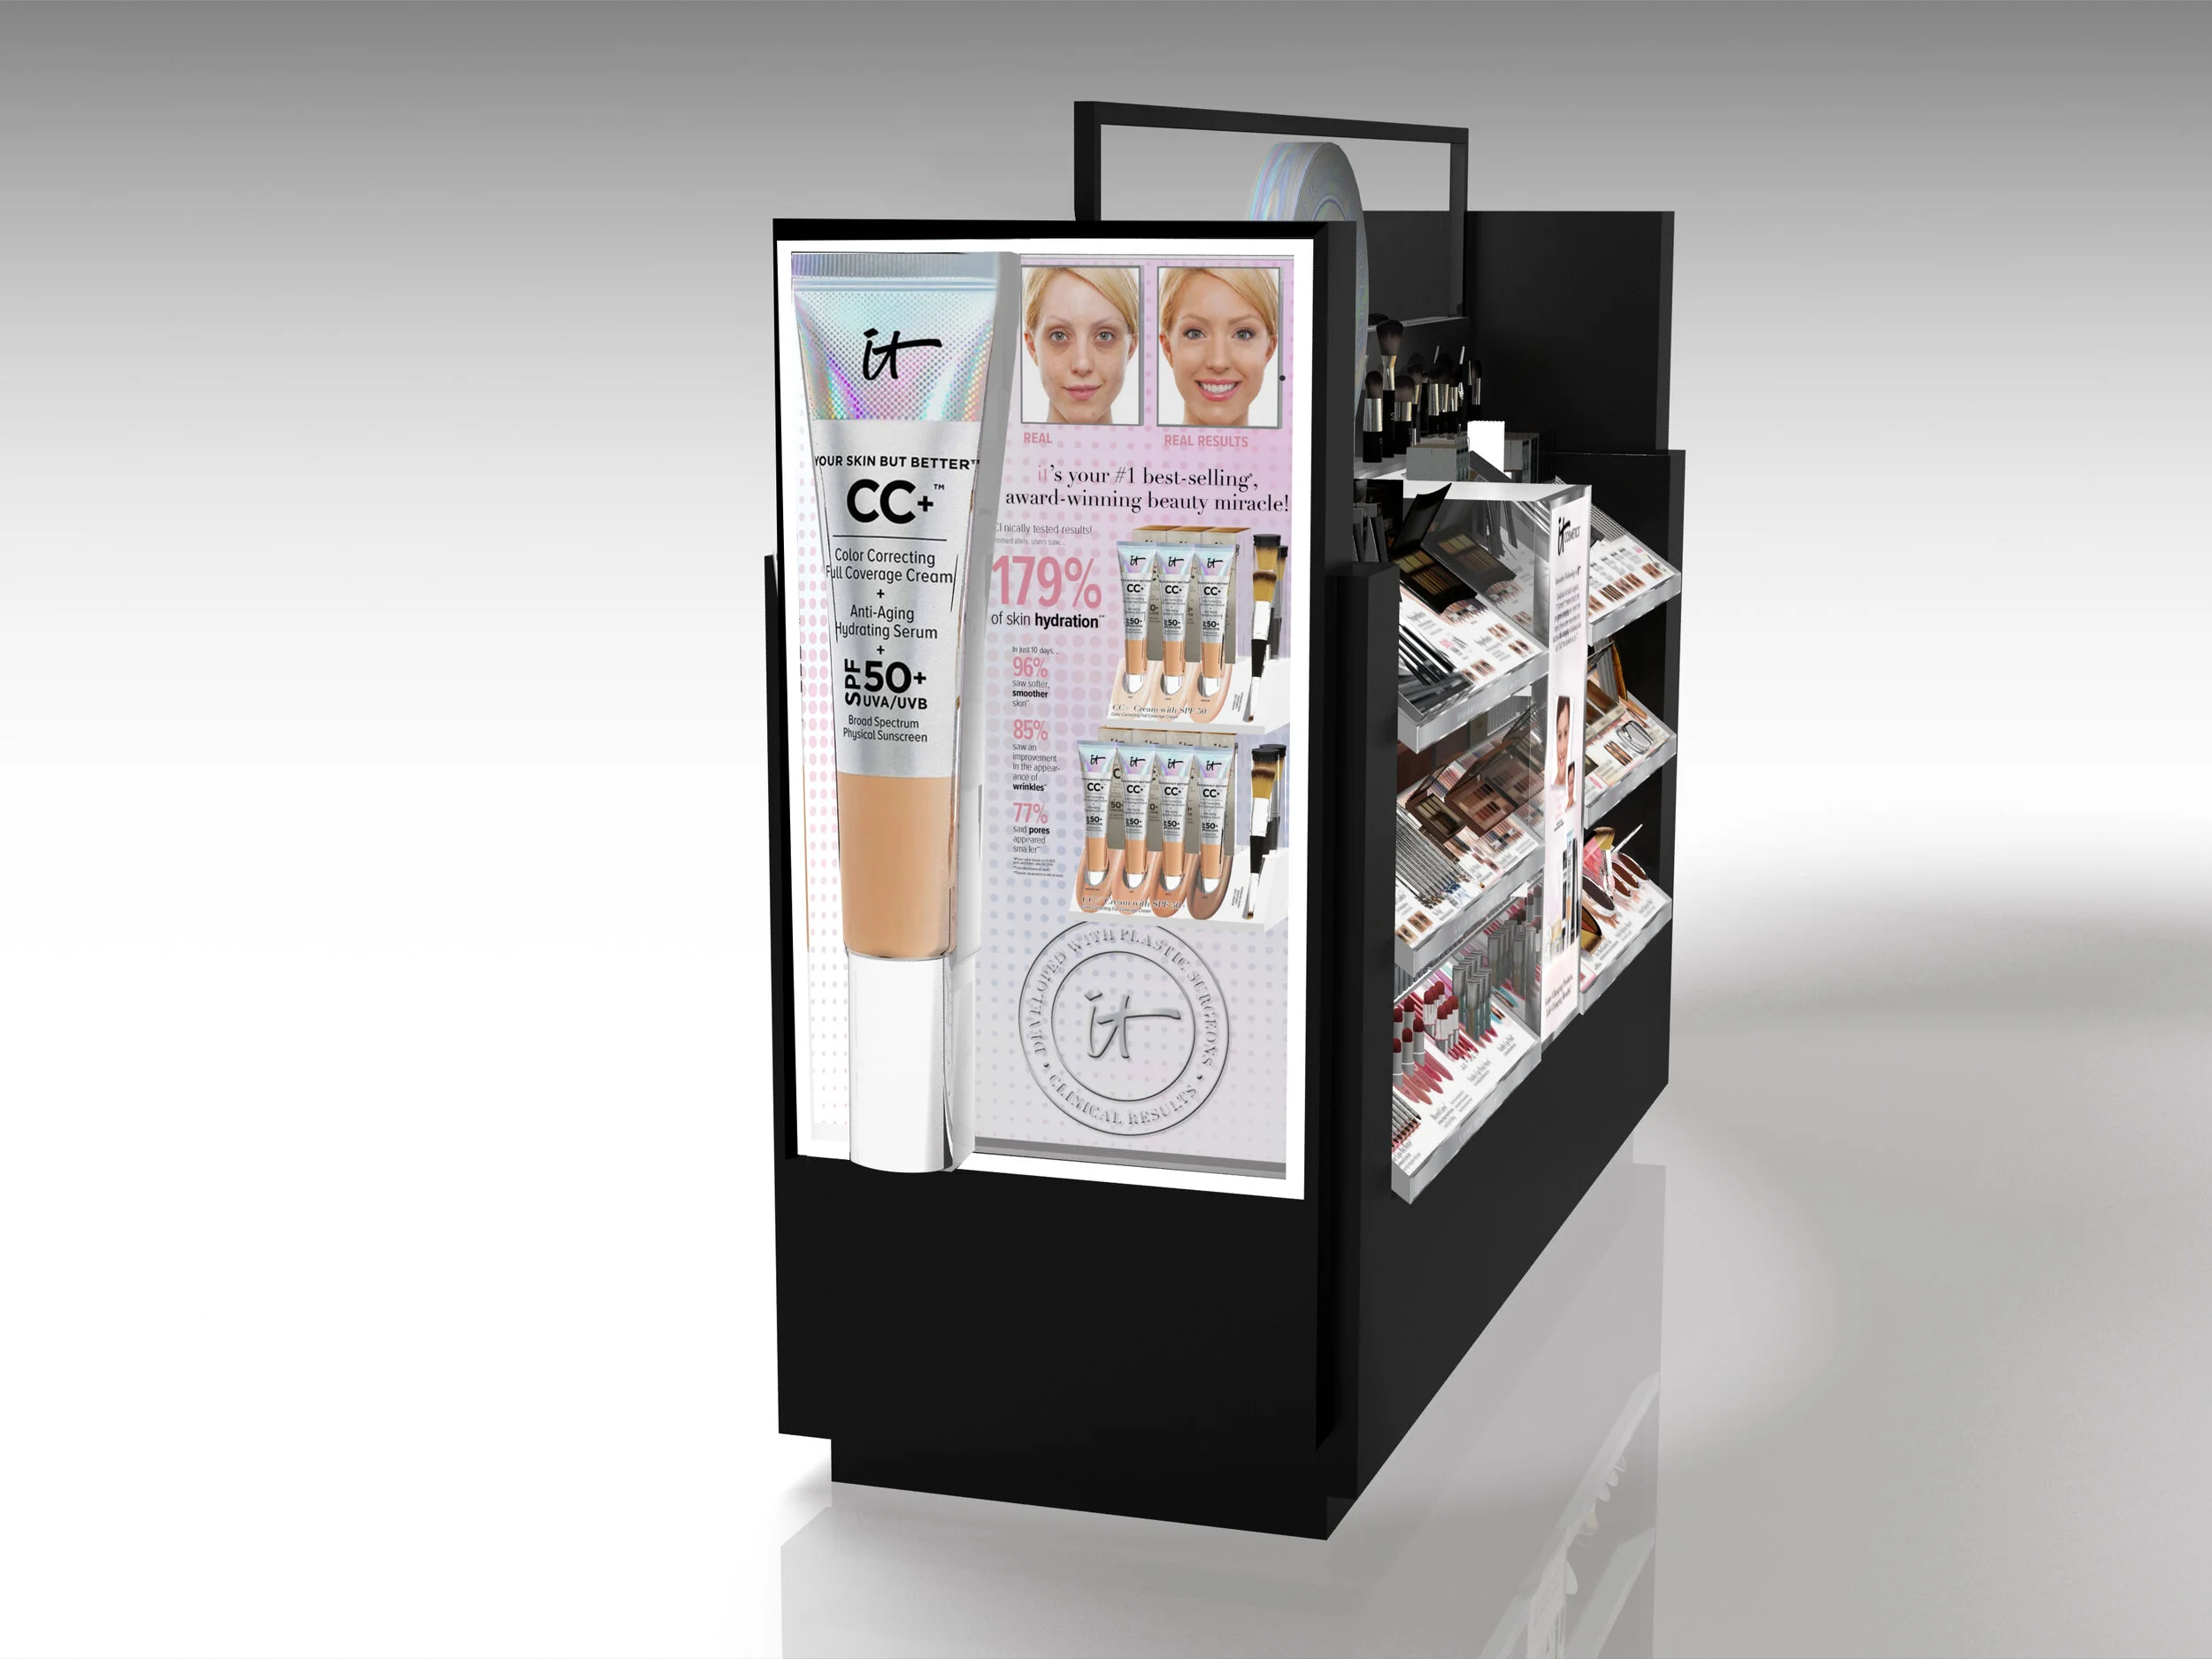
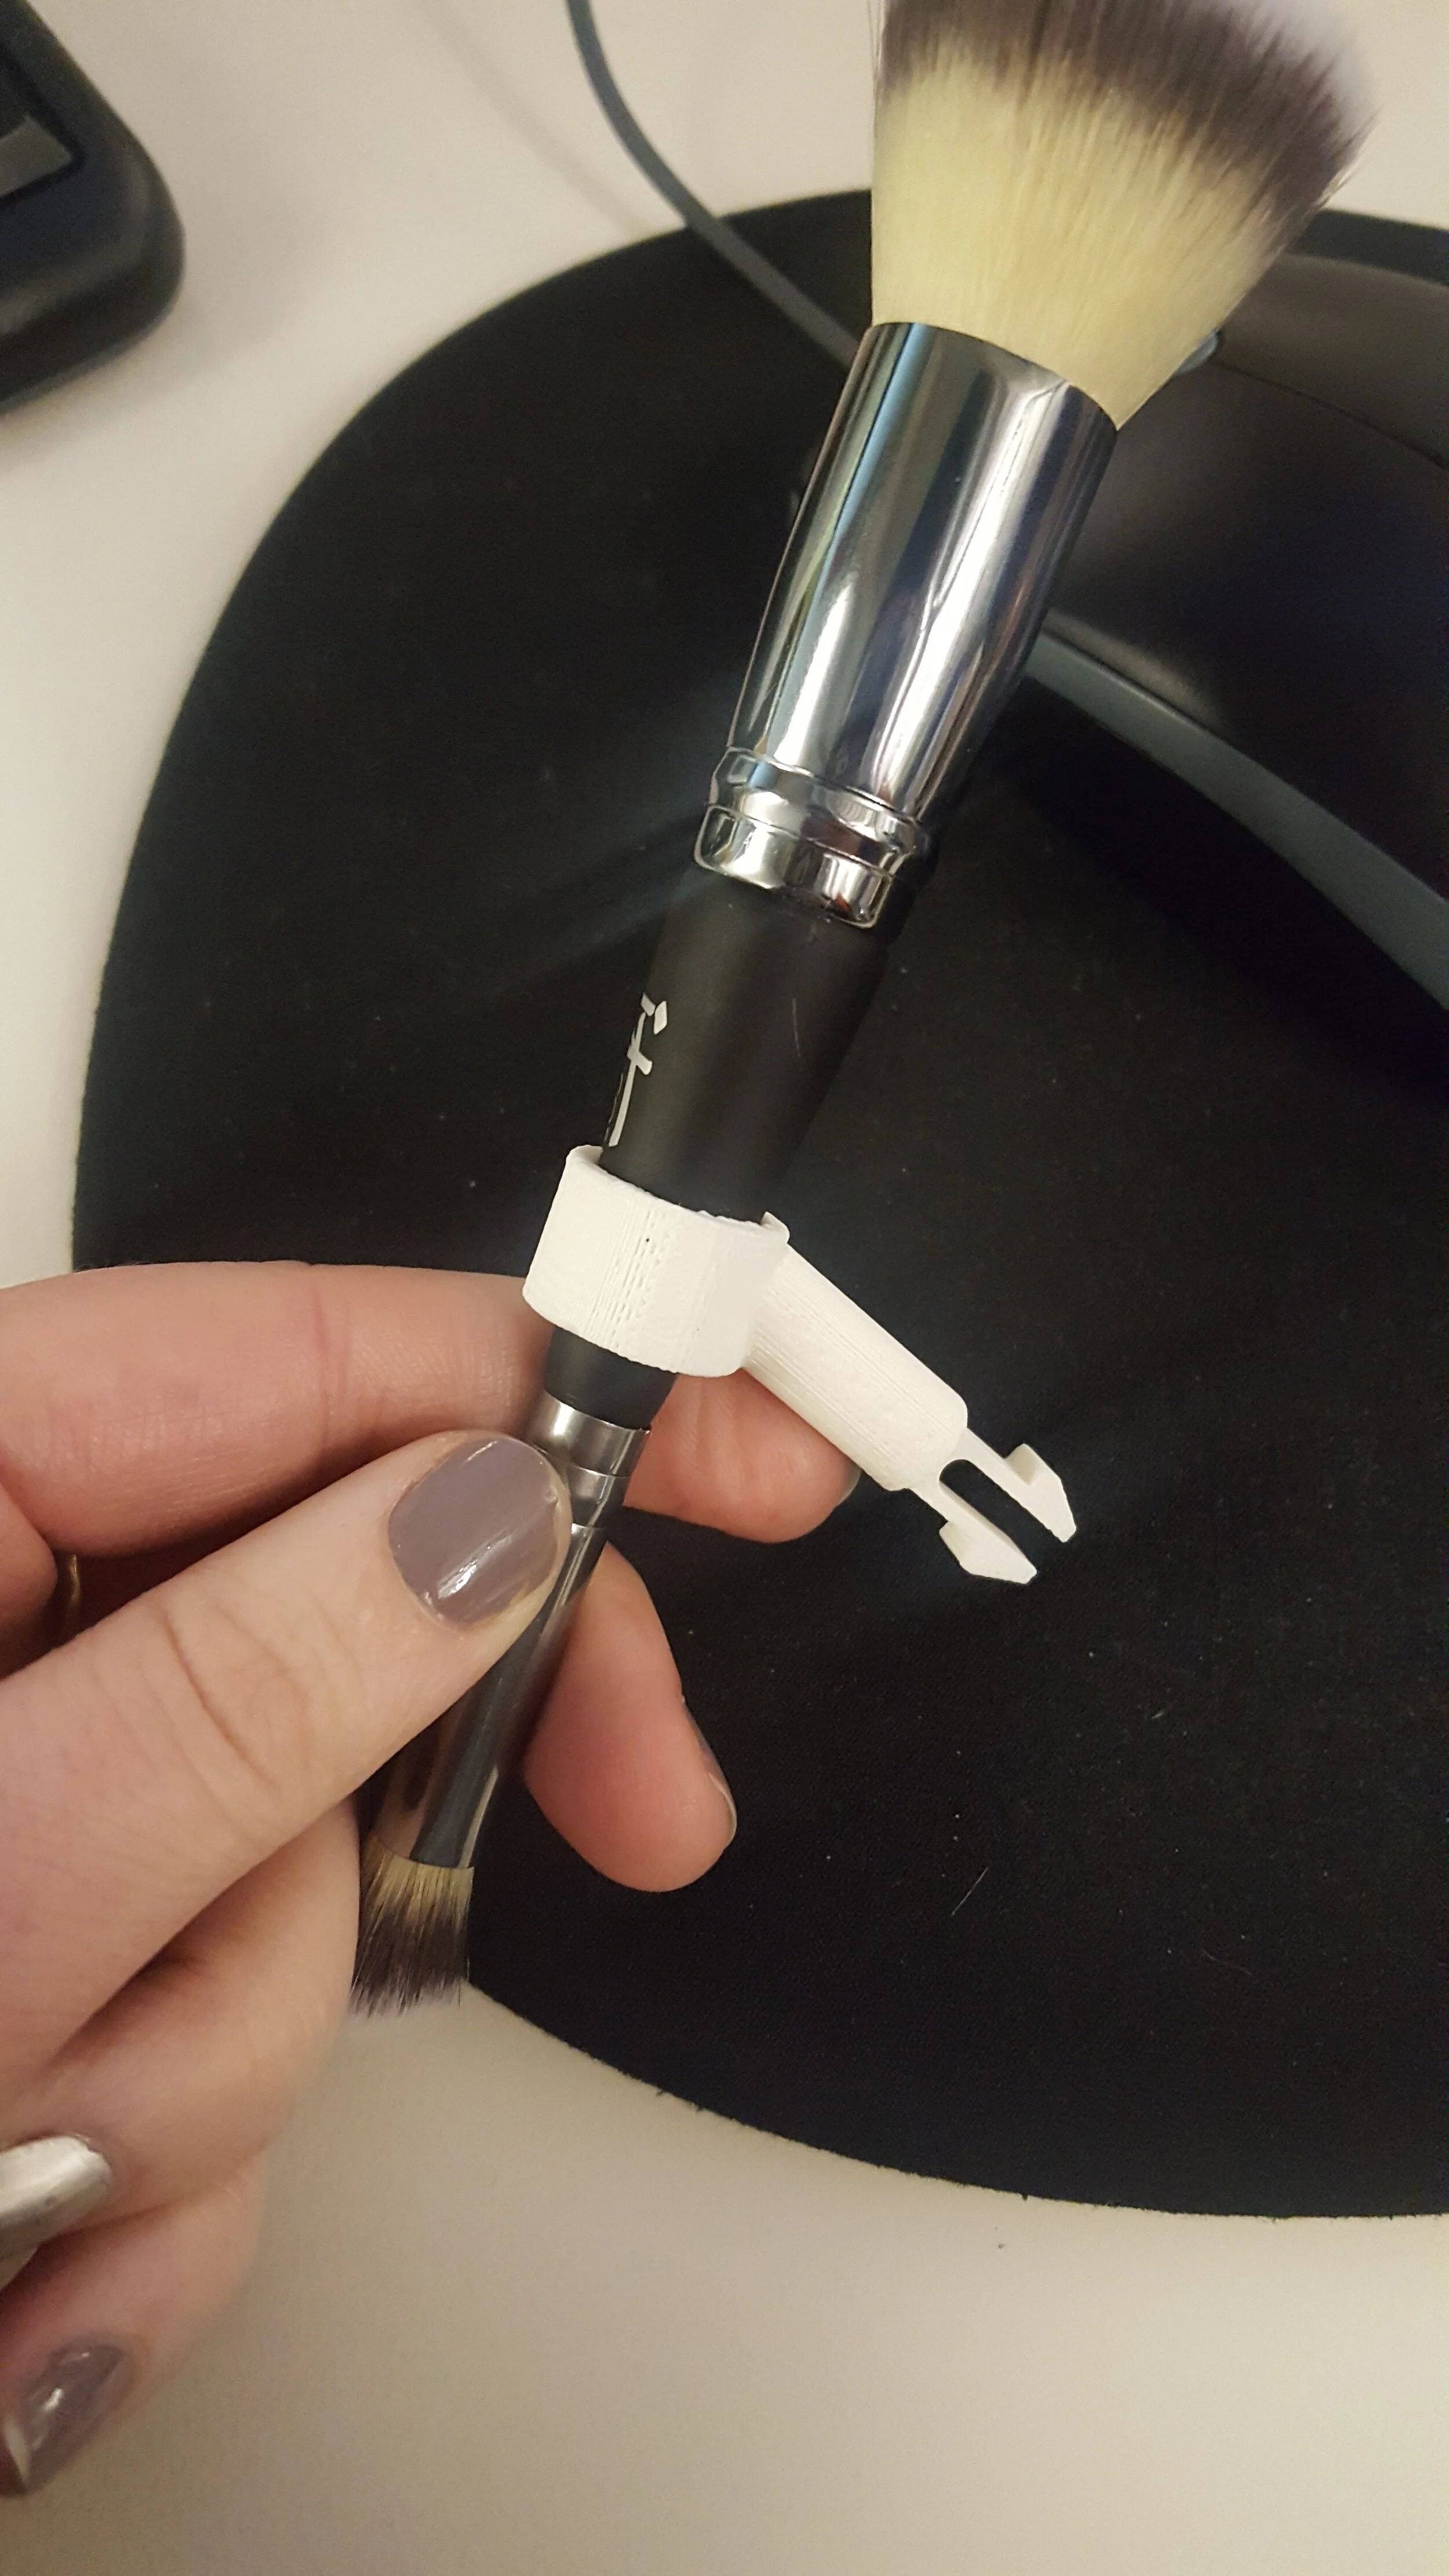
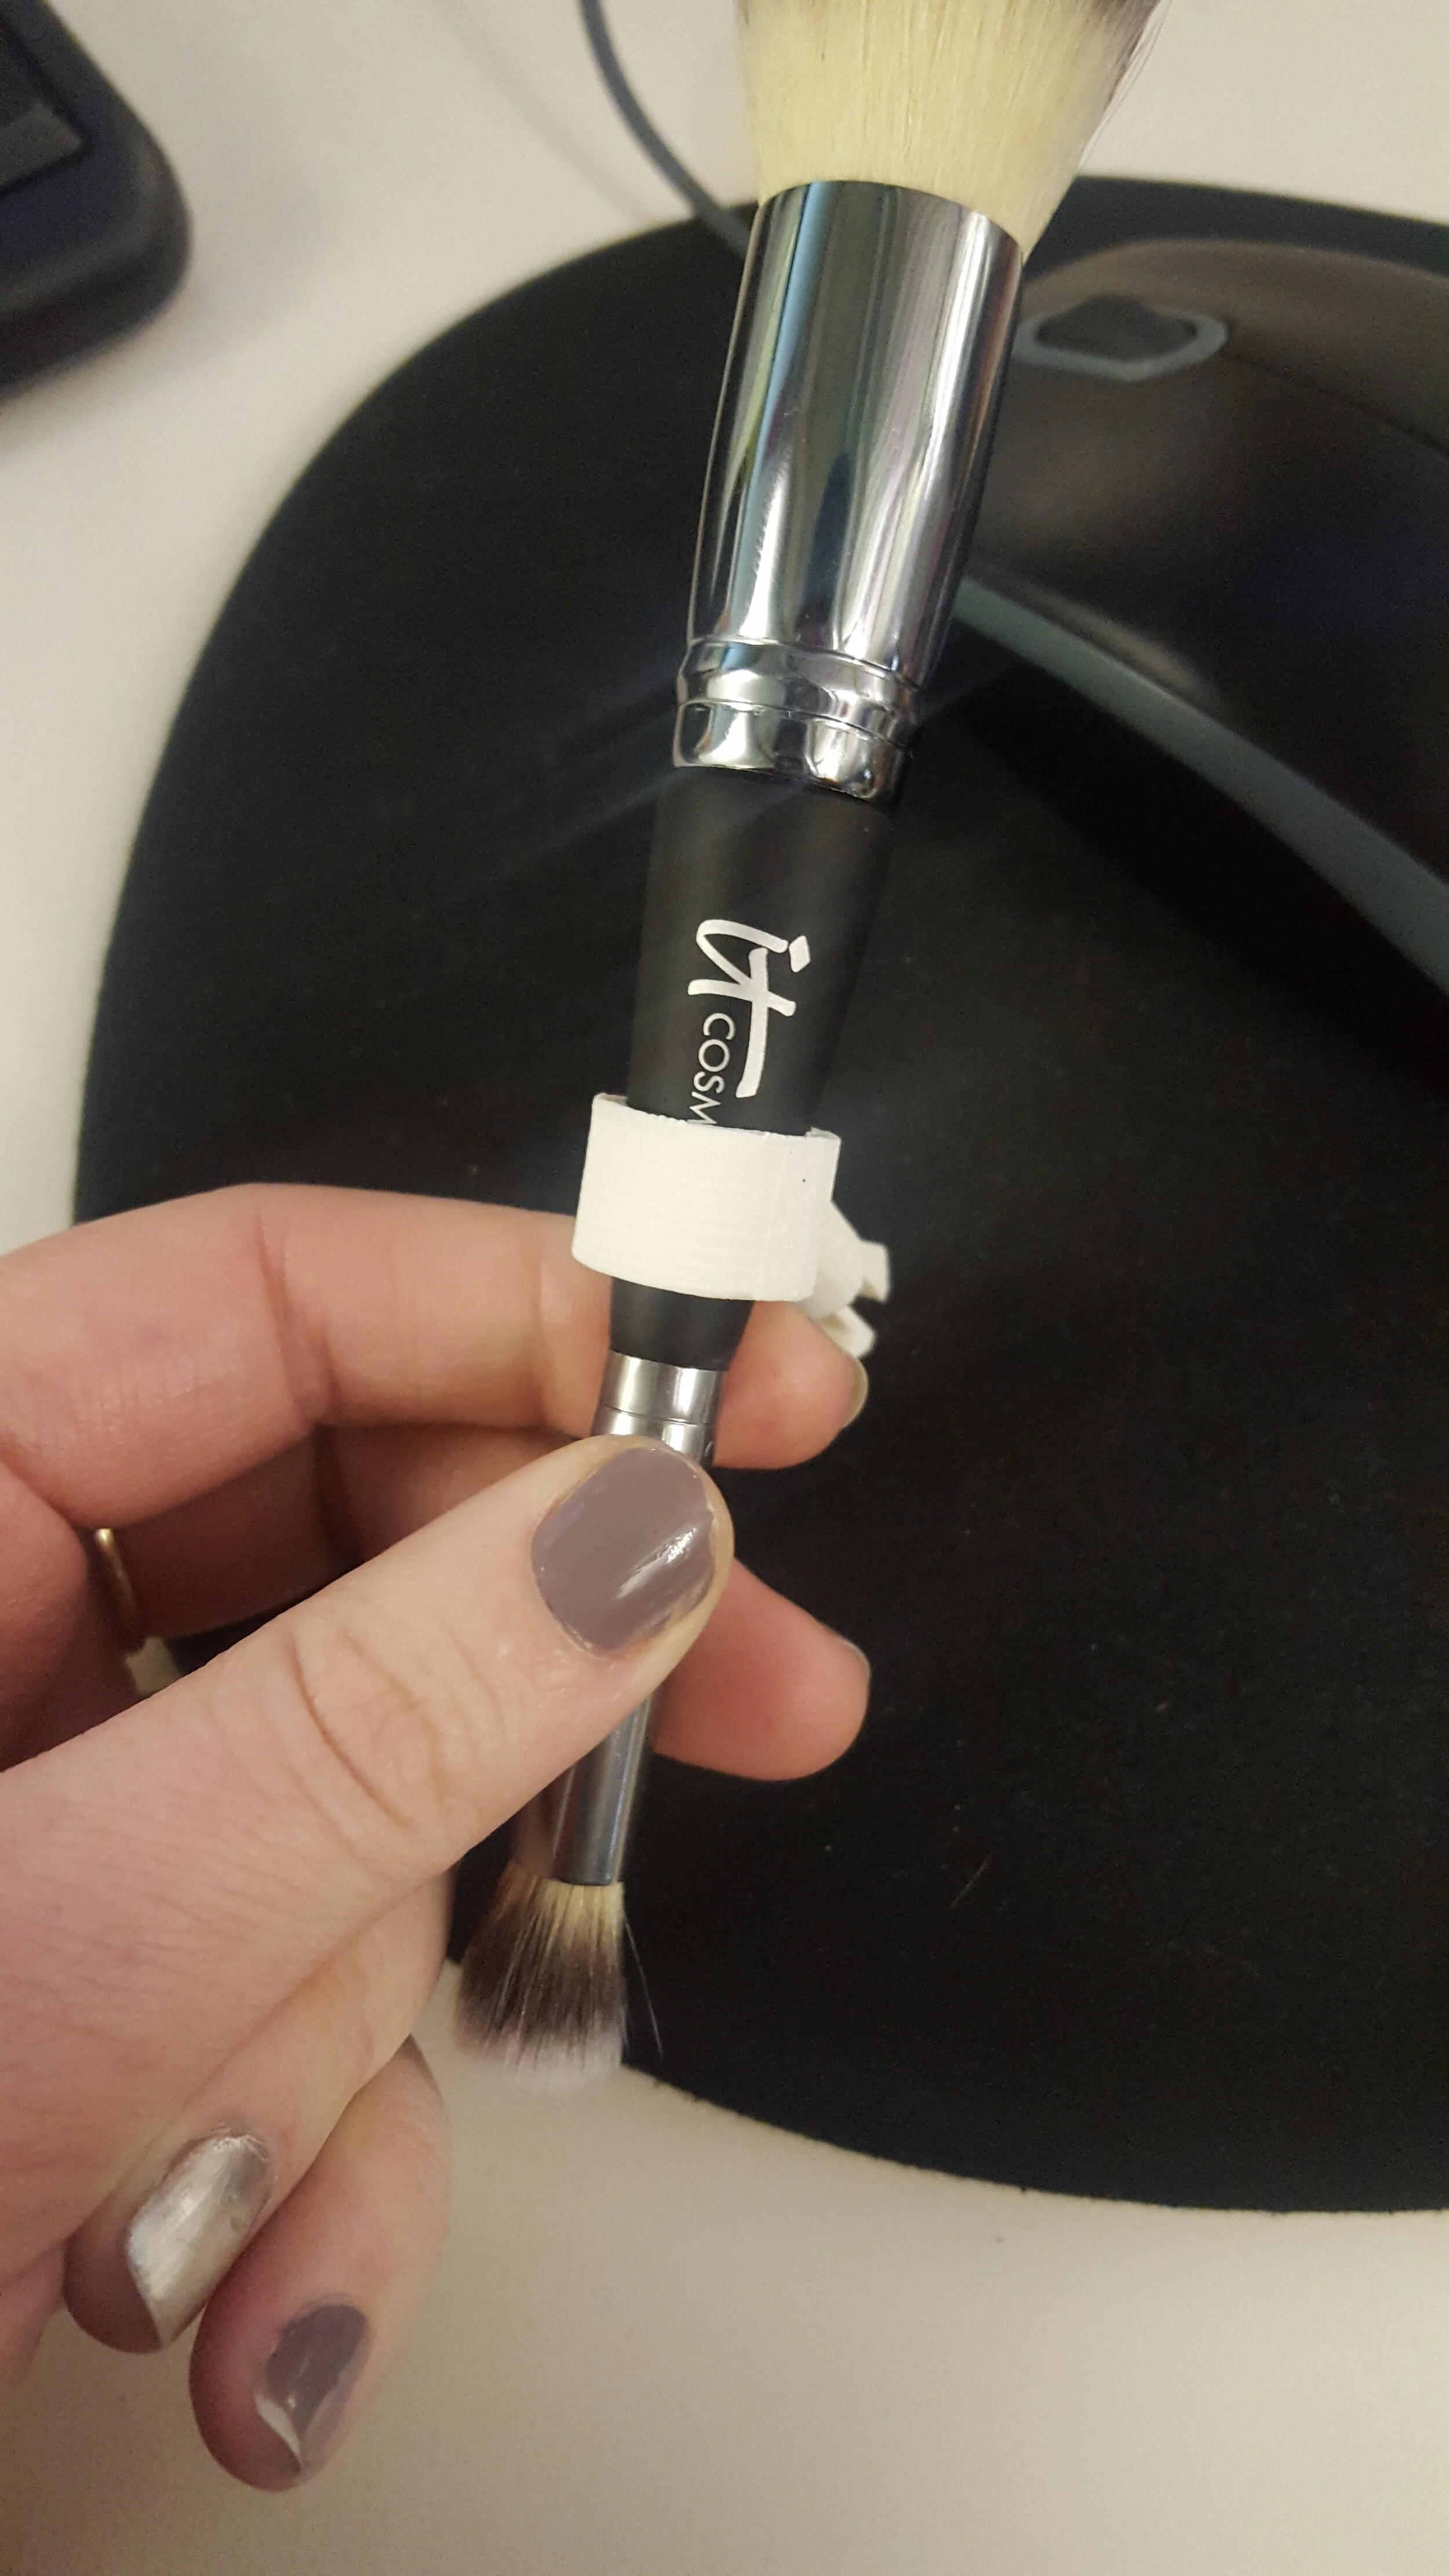
Tube Endcap factice & custom brush holder
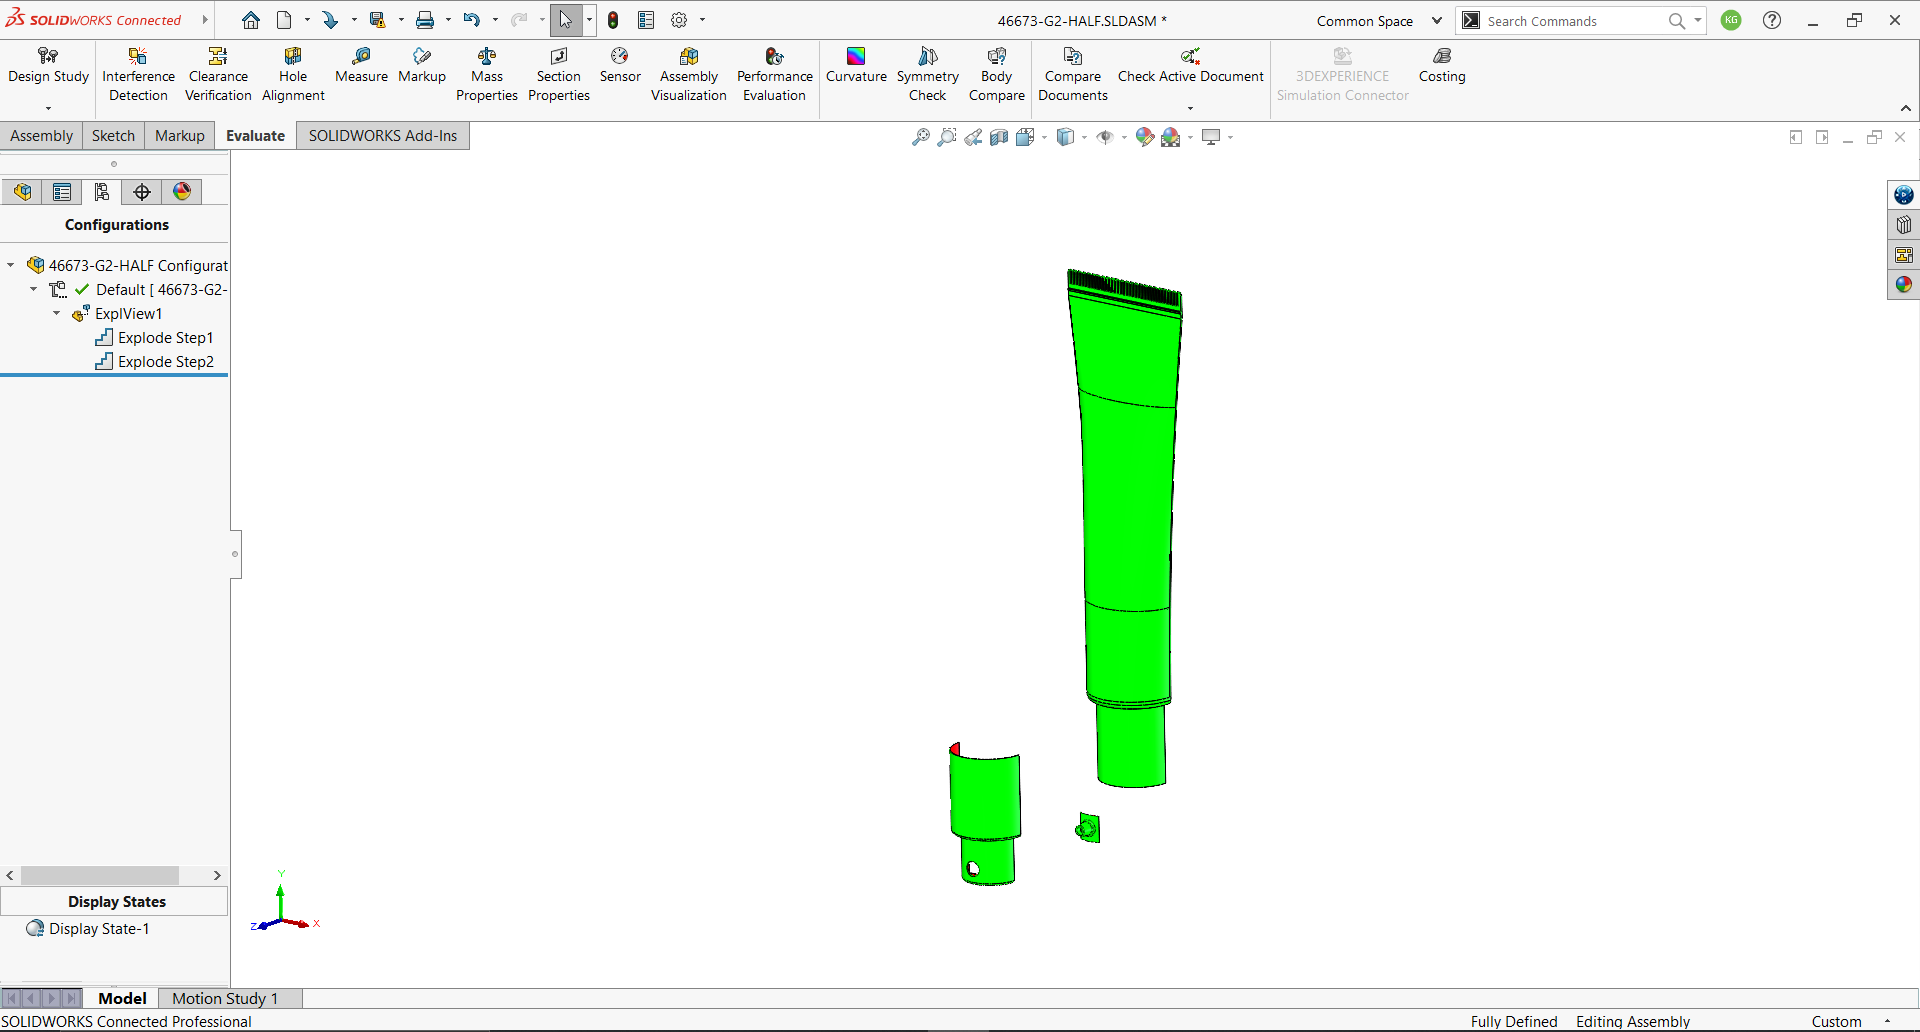
Exploded view of the three-part front of the tube factice.
One of the end cap concepts required an oversized product tube, which could be modeled directly from measurements of the provided sample tube, and a custom brush holder to showcase a specialty product brush.
For the product tube, brand concept included the tube cap. I modeled and presented both the capped and uncapped versions, and brand selected the uncapped version to showcase their pump applicator.
Vacuforming the tube crimped detail proved to be the most challenging part of the display, requiring multiple iterations between myself and our vacform supplier. I also worked with our finishing department to identify the material colors and finishes for the individual vacuforms.
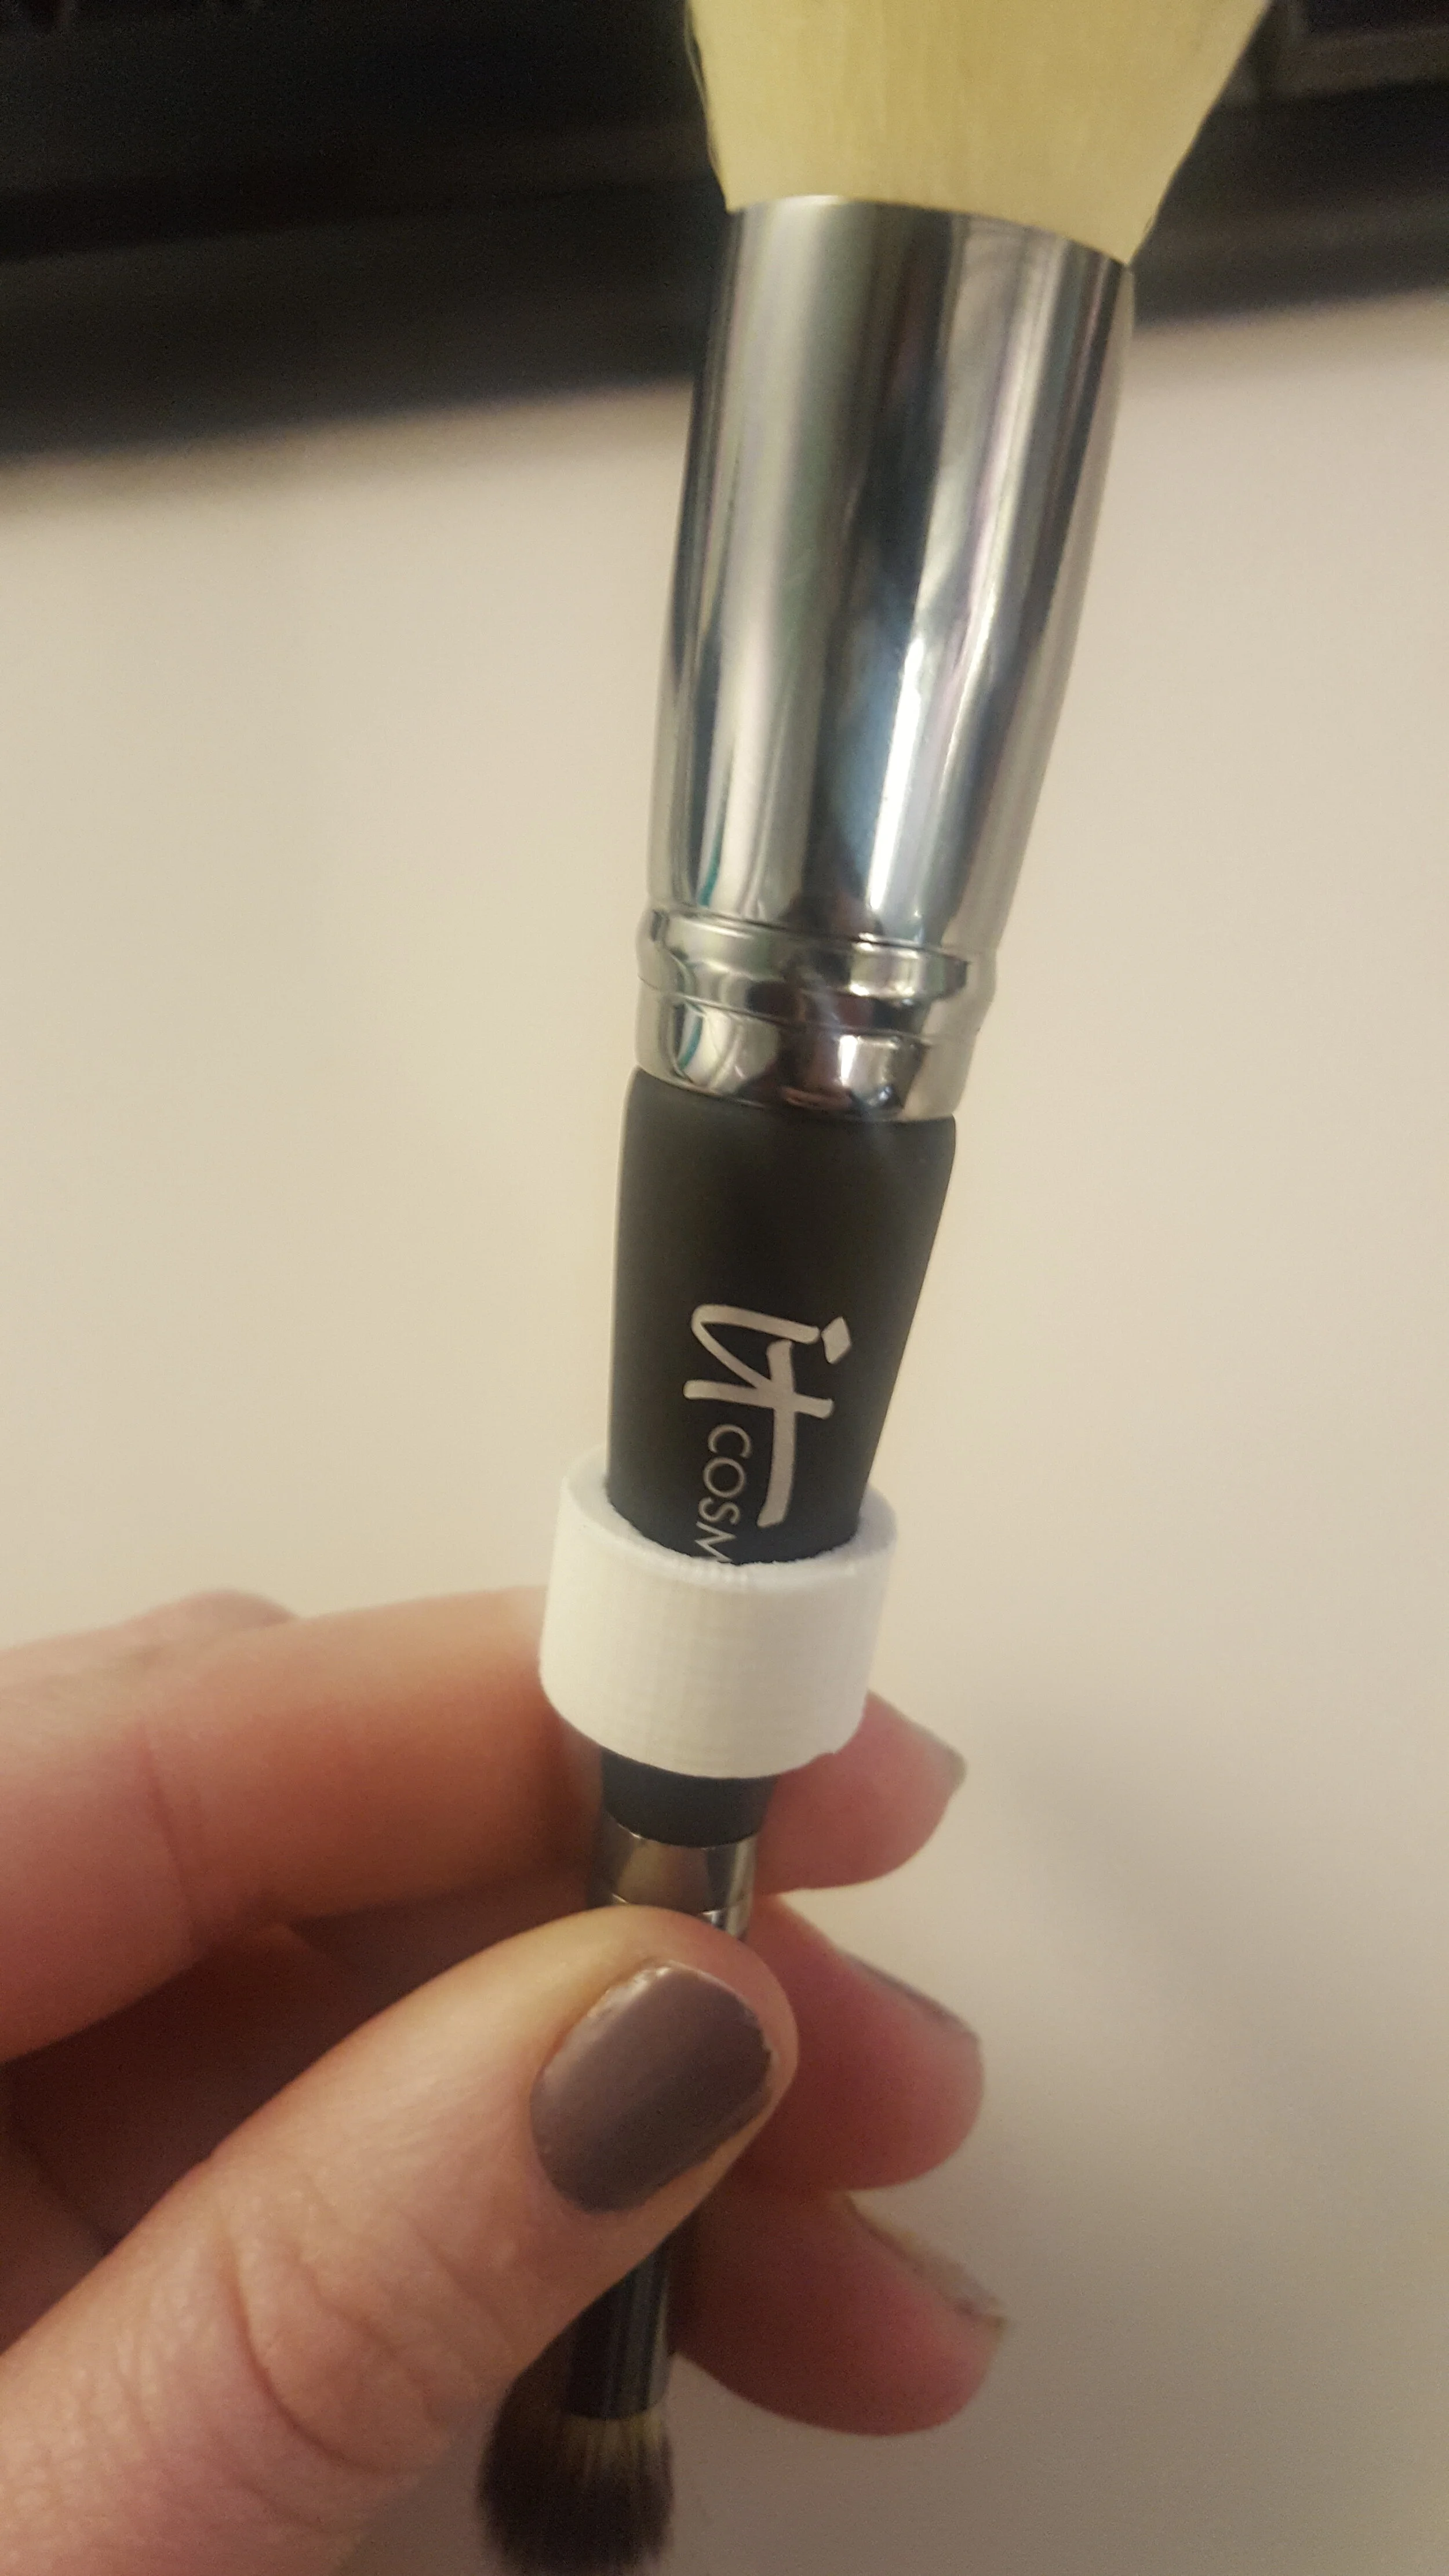
The brush holder needed to leave the brand logo exposed and be inserted into the front of the display. This part was modeled and multiple iterations were 3D printed to reveal the logo to the brand’s approval.
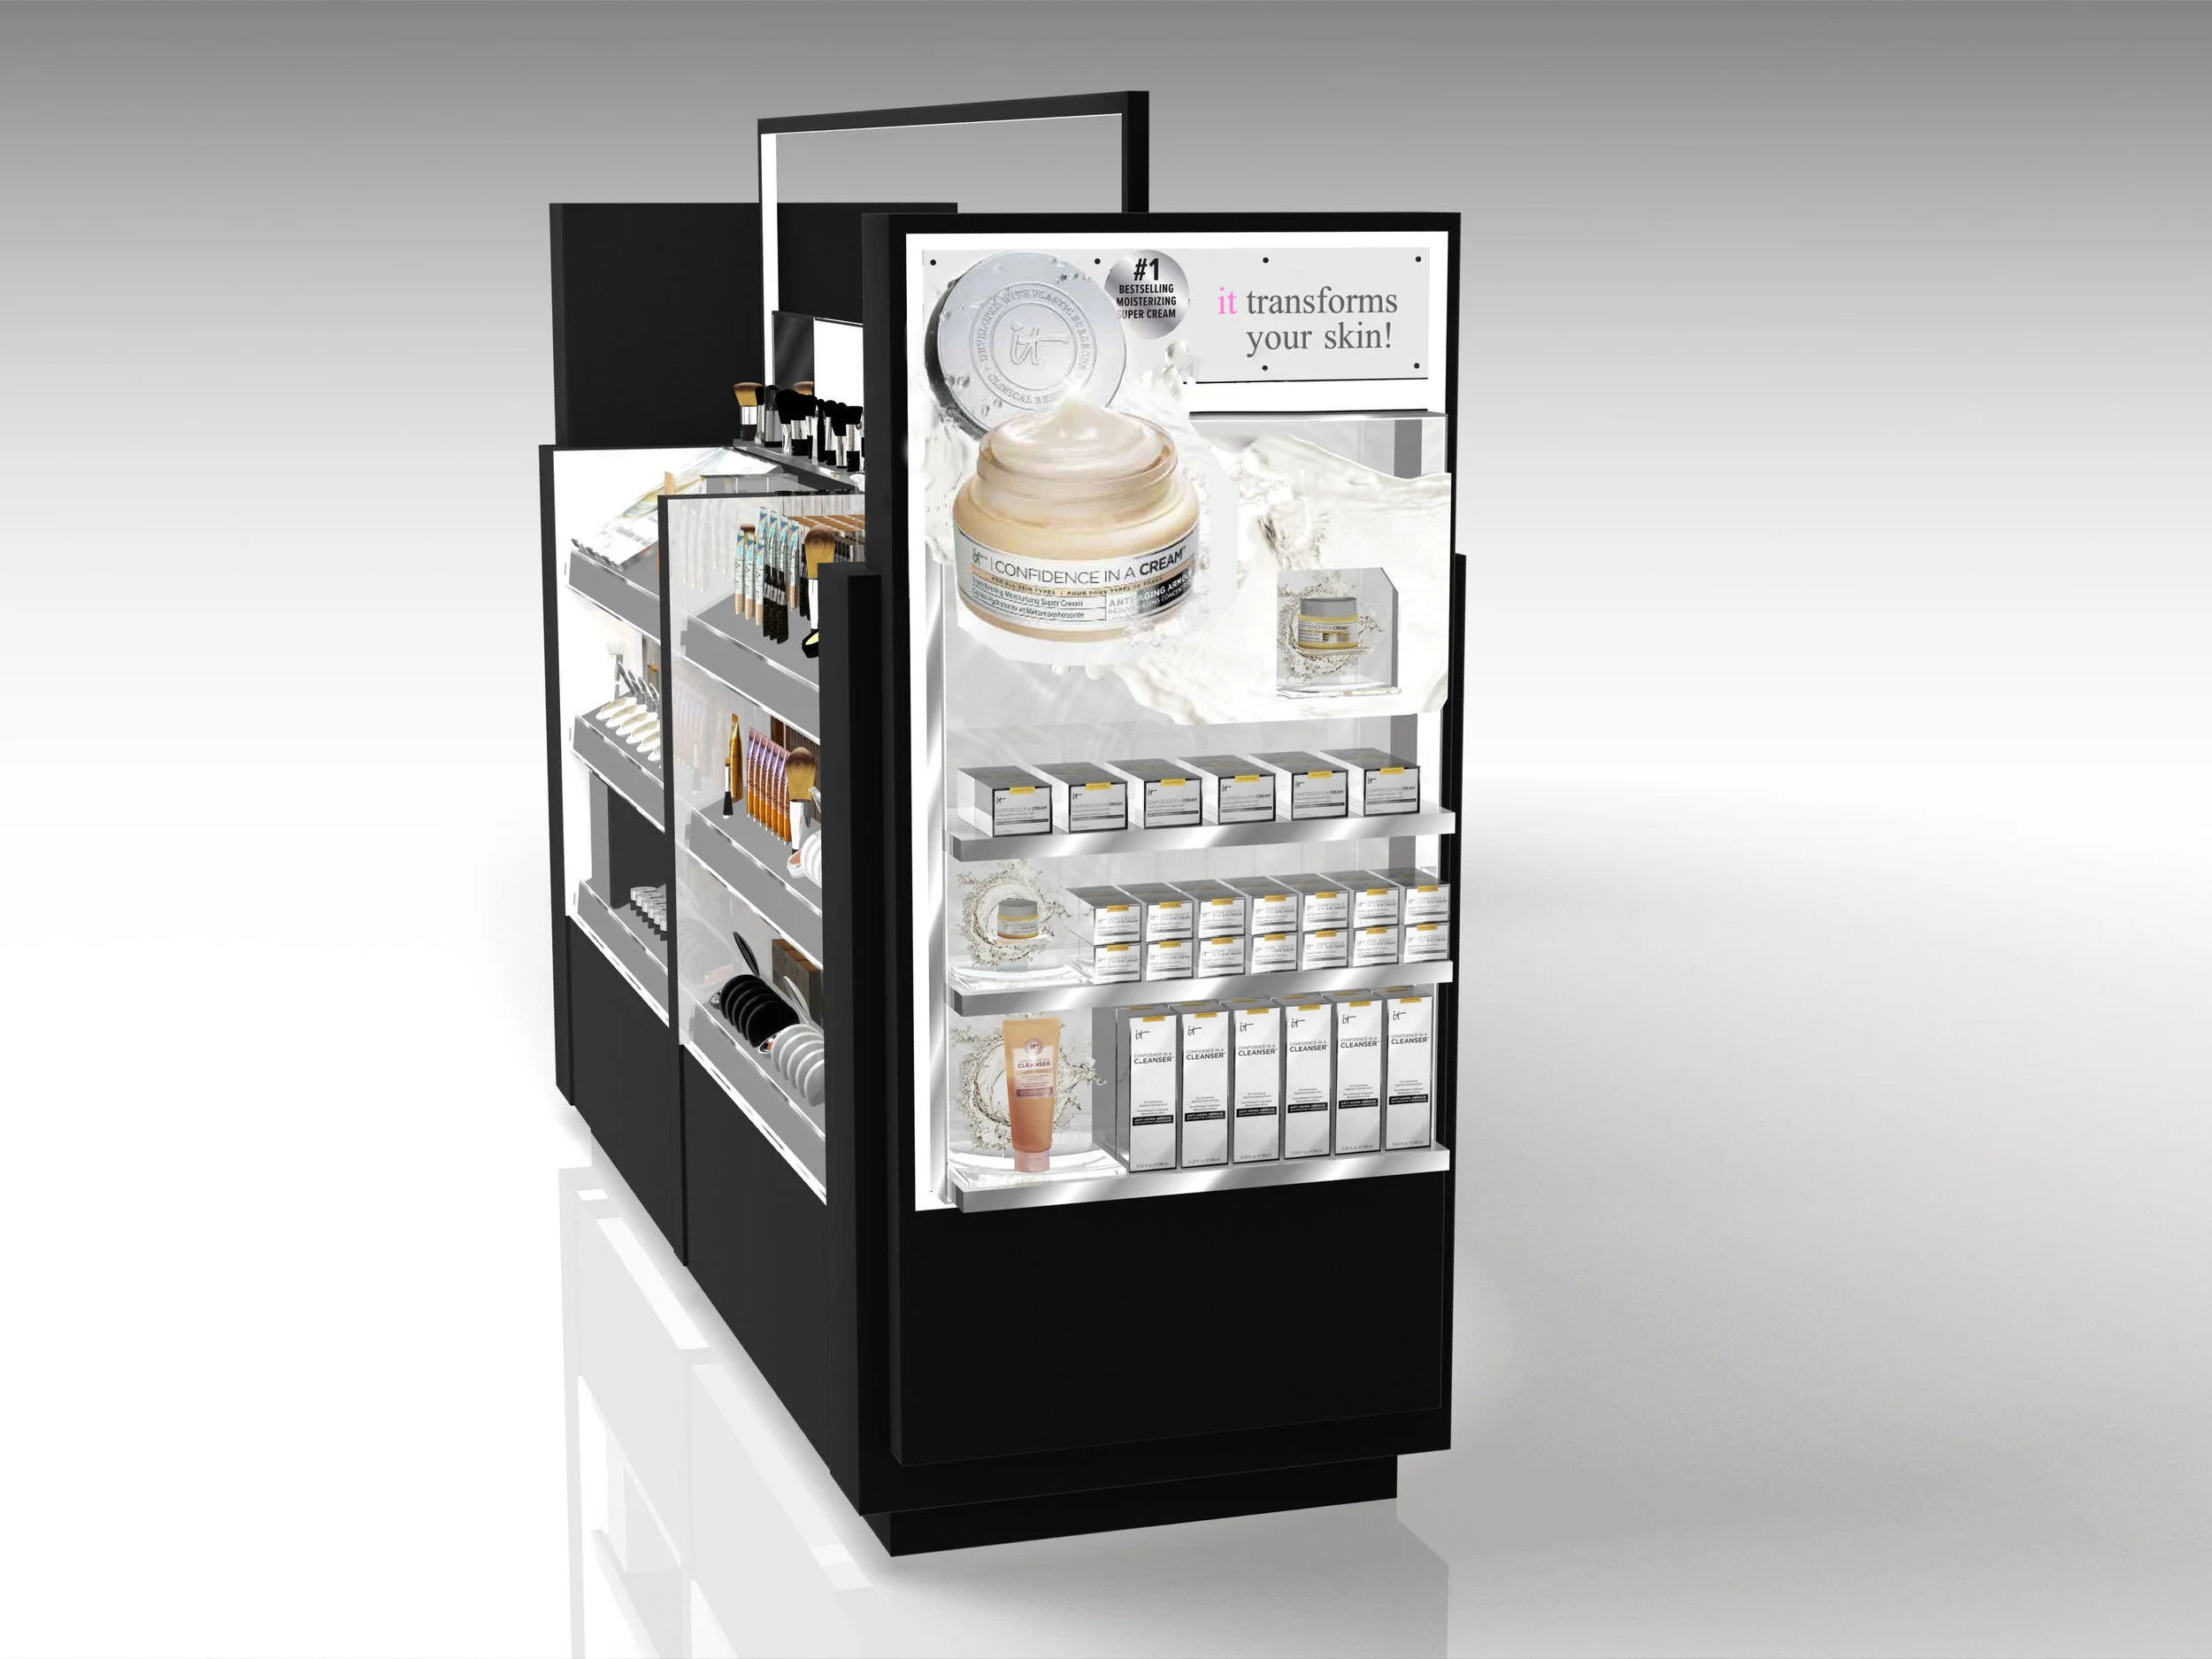
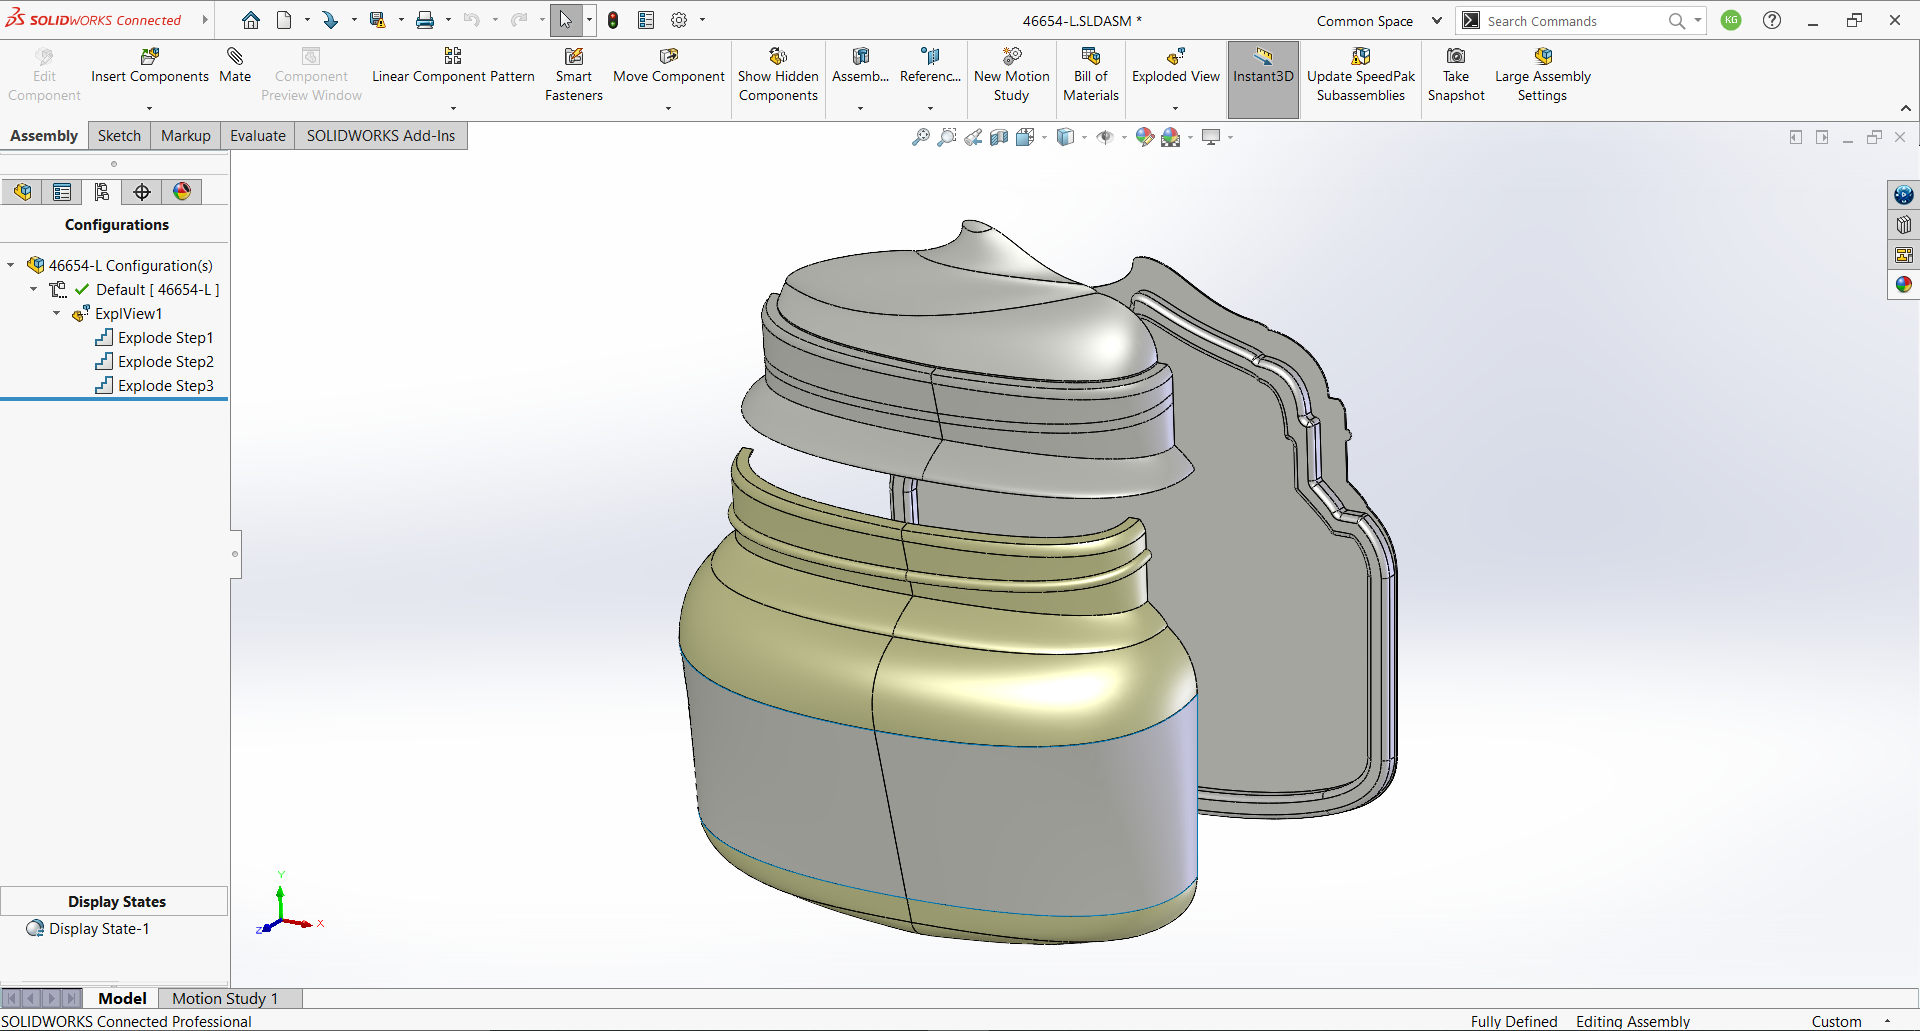
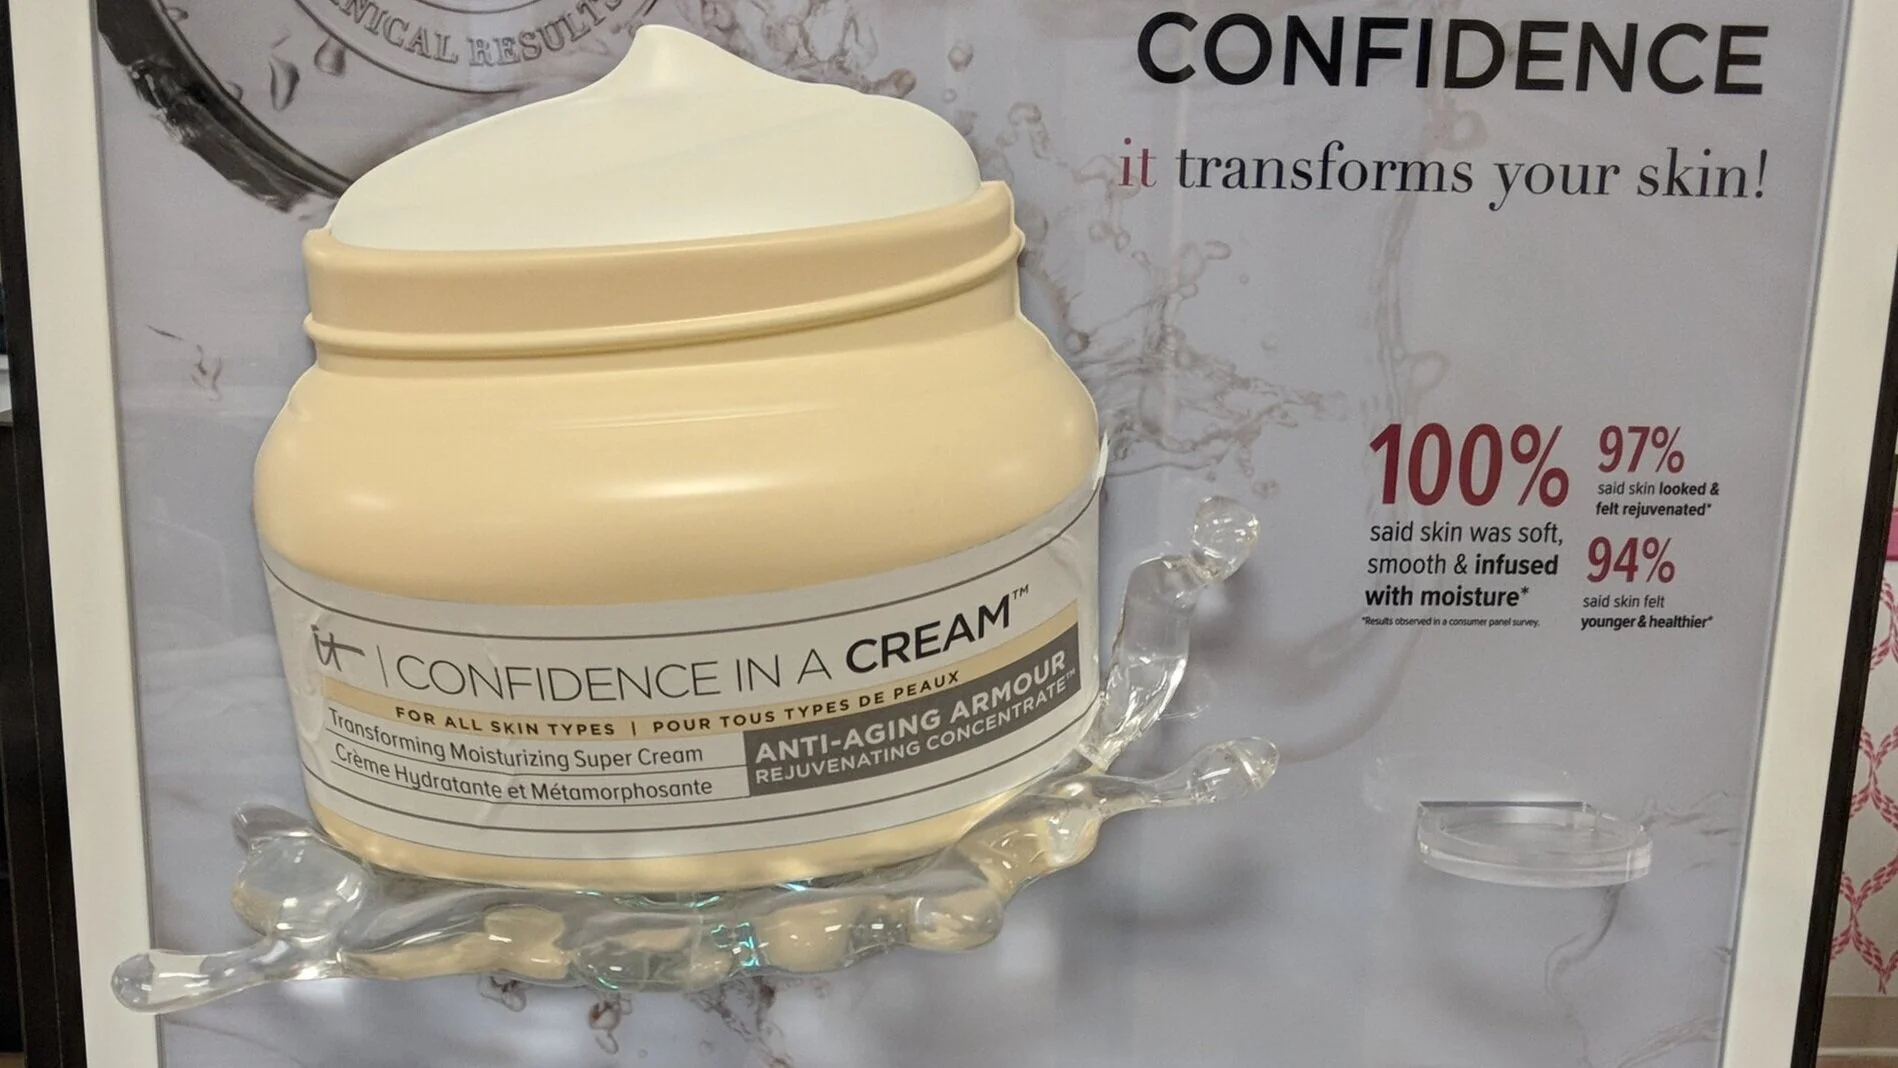
Jar Endcap factice
This end cap featured a product jar splashing into water. The brand wanted both the jar and water elements to be three-dimensional, rather than a printed graphic.
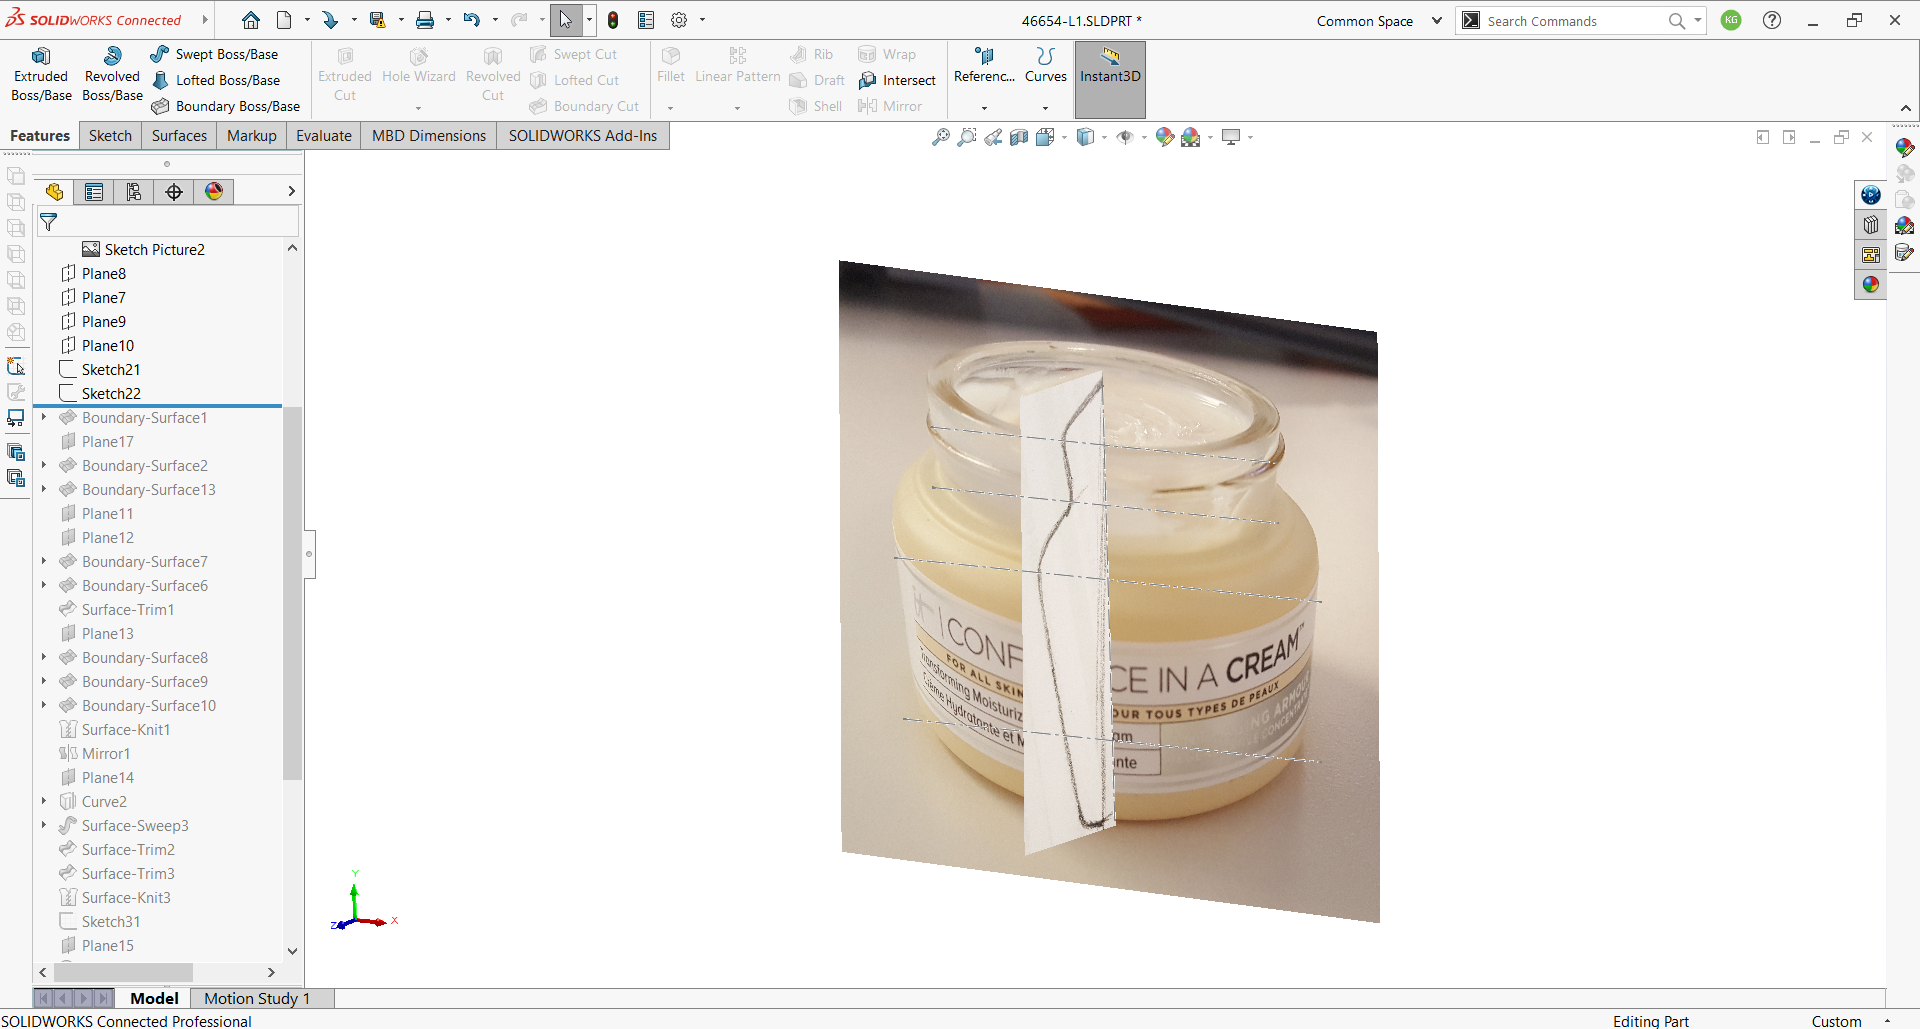
To achieve the desired look, I photographed and measured provided product sample, and sketched the desired projection profile. The photograph and sketch were imported into Solidworks and scaled to the finished dimensions to create a base for modeling.
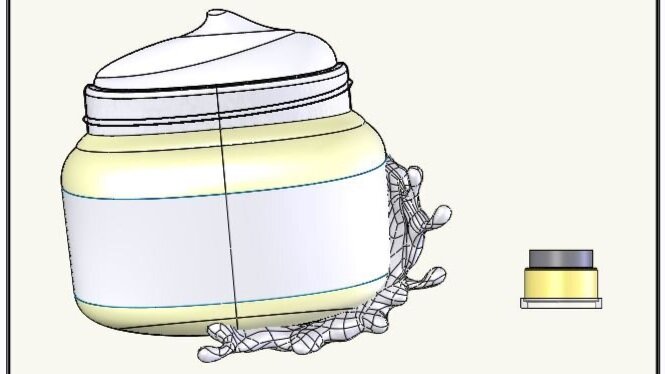
Exploded view of the jar factice vacuform
Once modeled, the jar was added to the endcap fixture and cut with the mounting surface. After cutting, the model was shelled to create the vacuform.
To accurately match the color and finish of the product jar, and to recreate the desired level of detail in the factice, I modeled the jar and whip of cream separately.
The jar was molded in a Pantone-matched matte material, while cream was molded from a color matched glossy material. To match the cream, the finishing department and materials supplies provided color swatches, which I then selected using the product under mock store lighting.
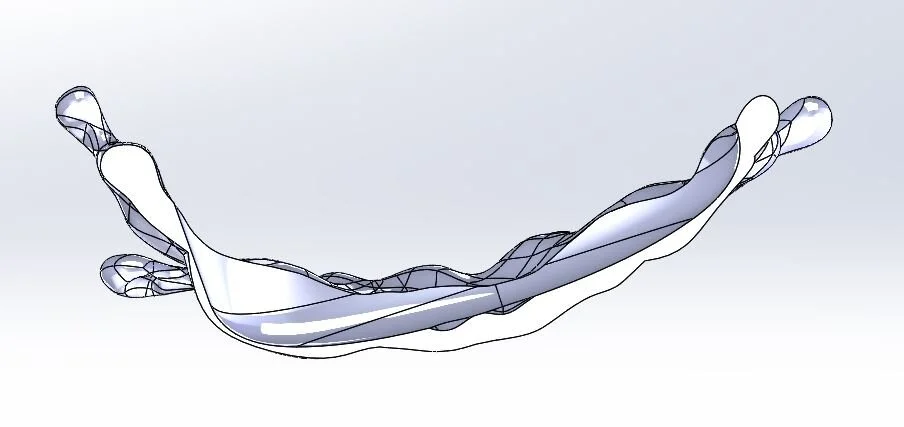
3D Water splash feature
The brand provided PDI with an existing four-inch cast splash feature that was used in their display with another retailer.
2-The existing shelf ‘splash’ feature was scanned to create a surface model that could then be manipulated.
3-takeaway: 3D scanning creates a surface model, which then needed to be scaled and manipulated, then knit into a solid body.
4-the solid body splash was added to the main model and cut with the jar and fixture surfaces to create the attachment planes

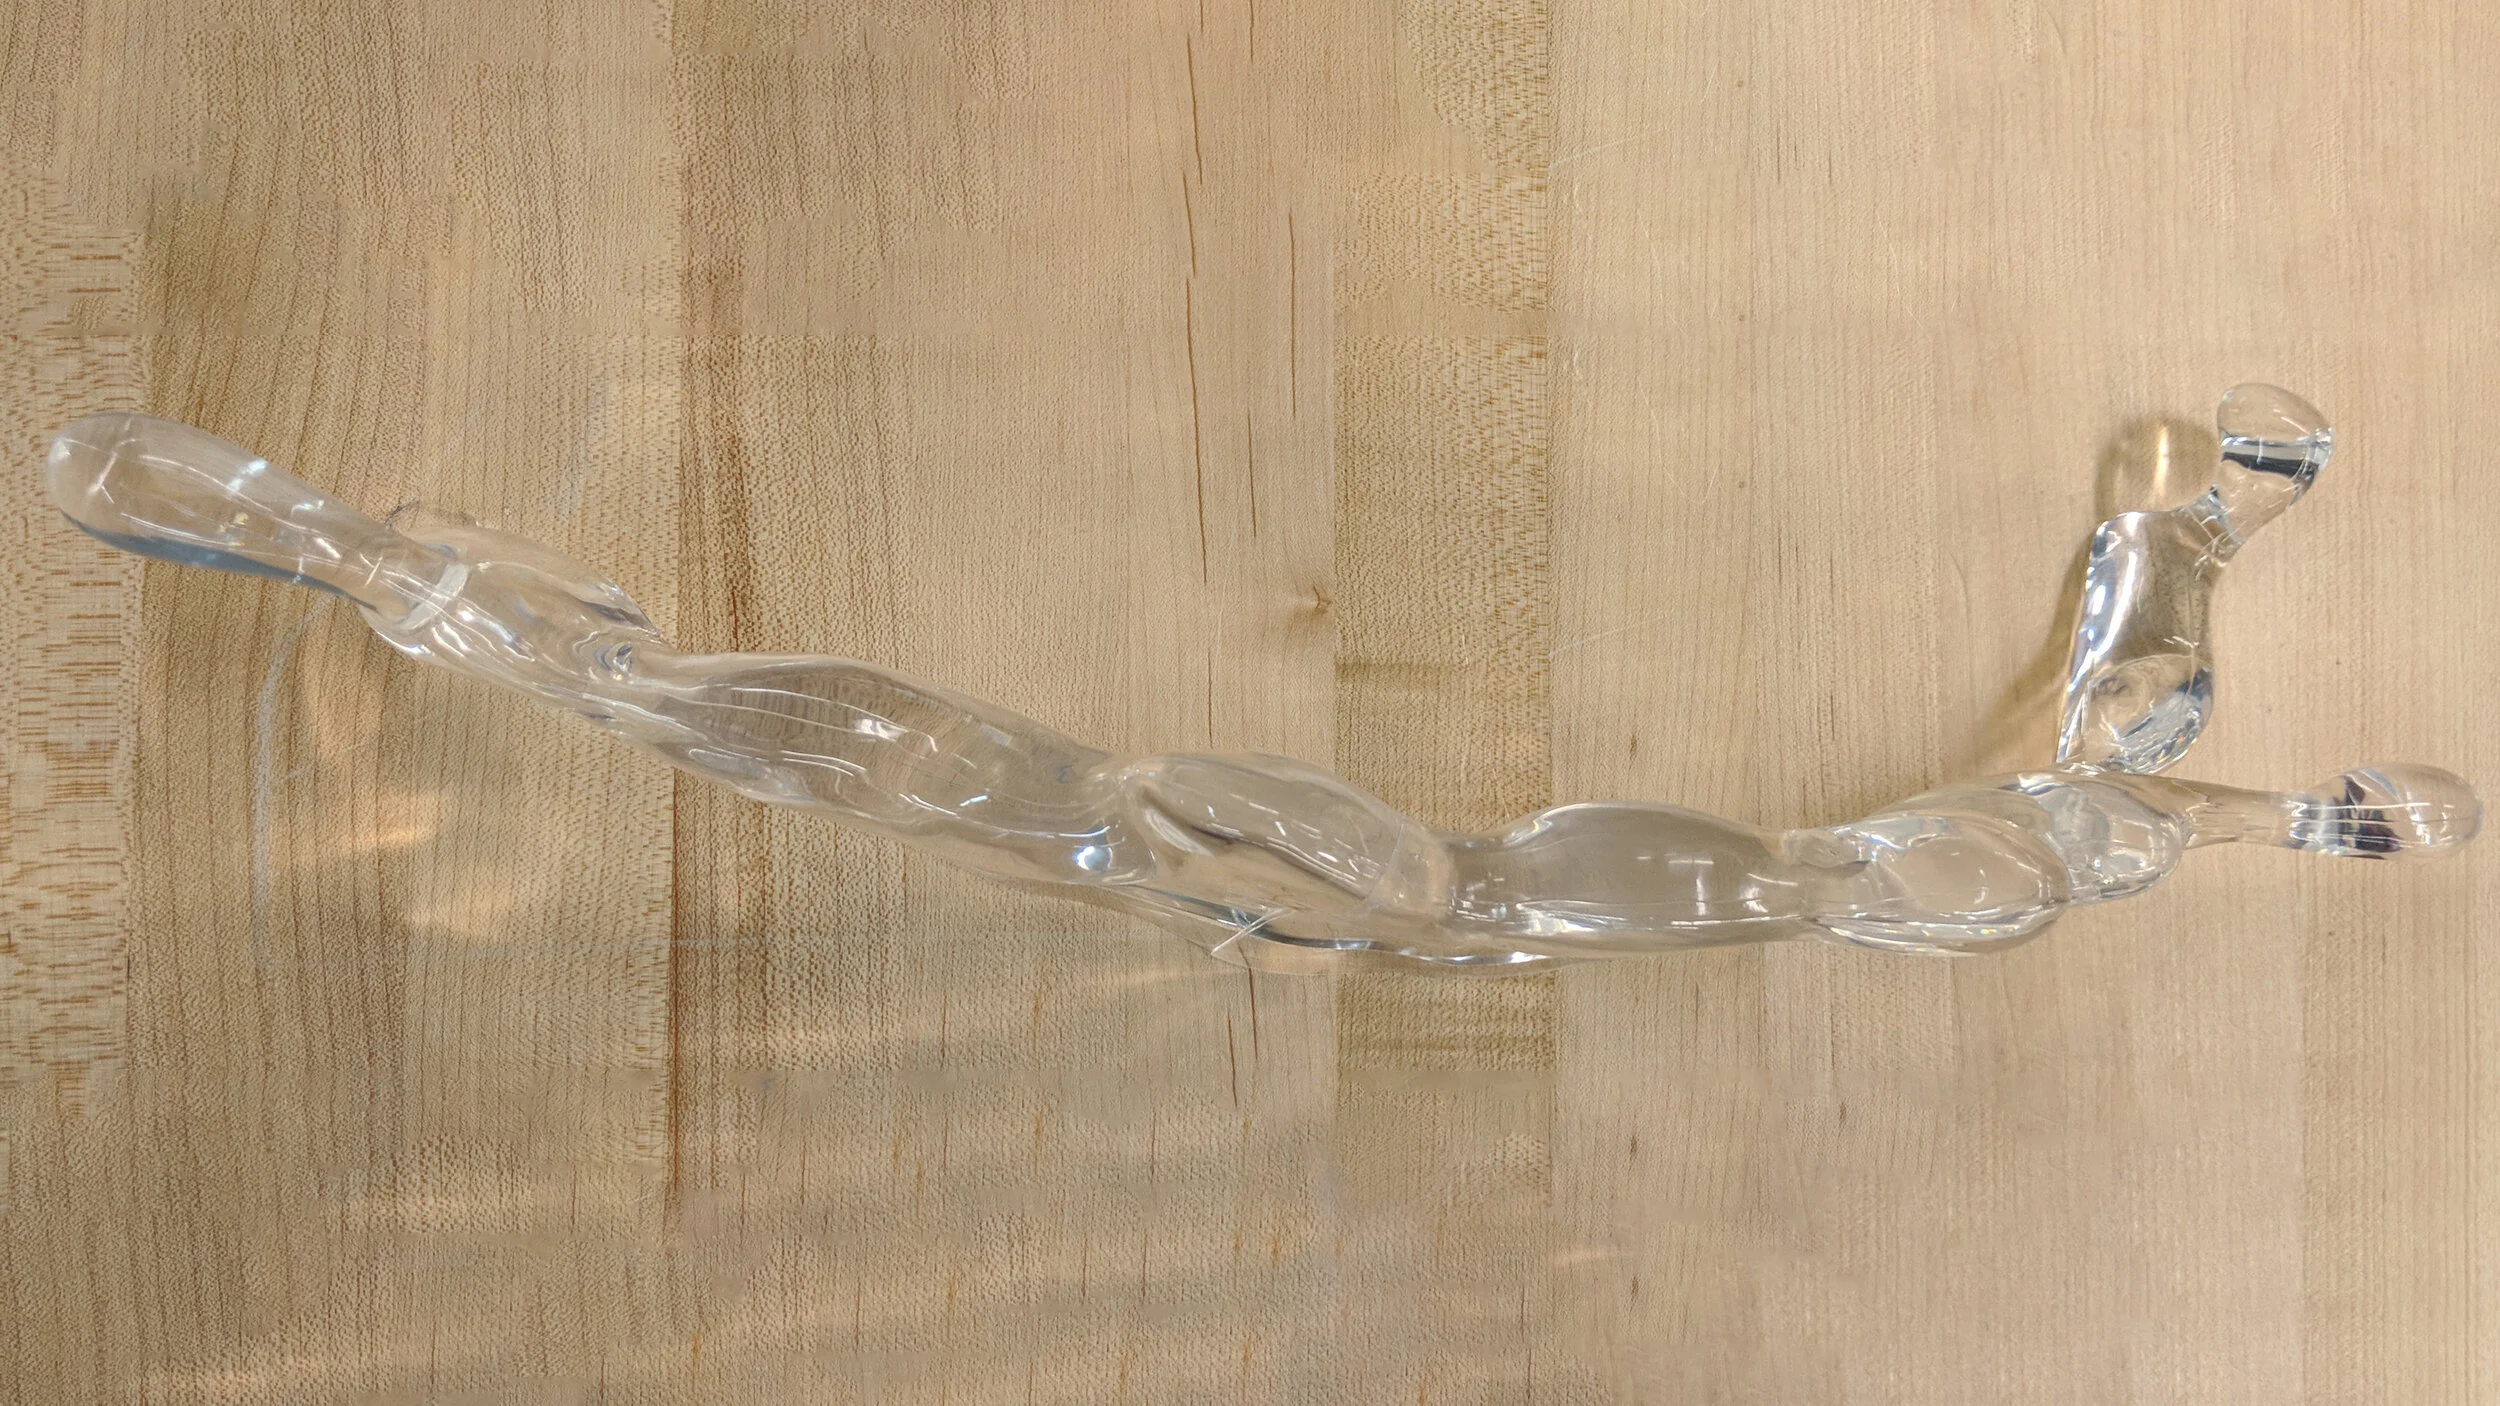
Once the difficulties of creating the CAD model had been overcome, I had to figure out how to get this splash made.
Injection molding would be too expensive for the limited part count and single production run, and an edge seam would interfere the water-clear look.
3D printing was possible, and a test print was ordered, but the parts would have to be solid, increasing their cost and weight beyond feasibility.
Our 3D printing vendor had a wide materials library for a variety of processes, and after researching their clear materials options, I proposed we attempt to use the UV-cured resin process.
Part mass restrictions meant that the splash needed to be split into multiple smaller parts, then assembled by PDI in-house. The parting line positions were placed to have the least visual impact. Also, research showed that there were a couple of adhesive options that, if carefully applied, would not interfere with the material clarity when set.
Working with our internal supply management and head of manufacturing, we successfully tested the resin parts and adhesive options, and I provided a die for he assembly line to use.
Retail Launch
See the tube factice at minute 2:45 (brand Facebook video)
See the jar factice at minute 4:55 (brand Facebook video)